Easy Maple Scones Recipe
- Tara
- Jan 10, 2021
- 3 min read

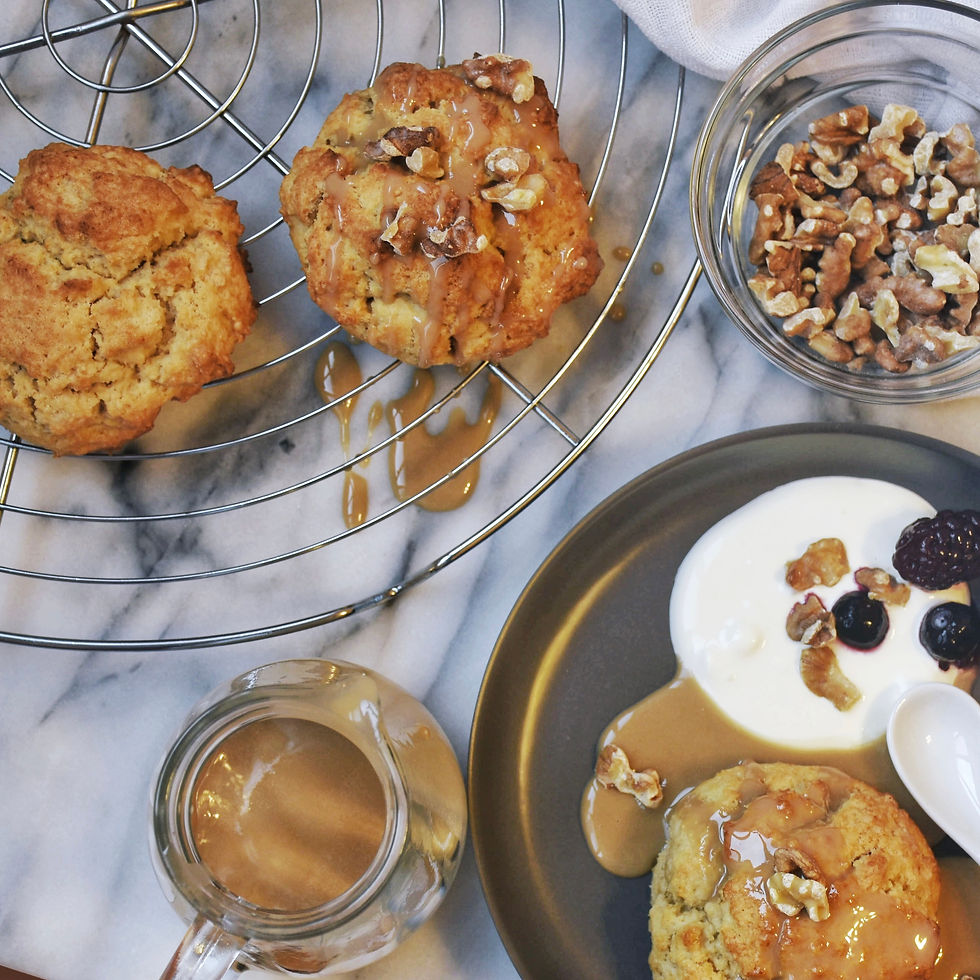
Earlier this week I visited a cafe called Lucid at Bendemeer. I'm not so much of a coffee person so no insights in that department, but I did manage to try their maple scone. It was amazing, which inspired me to try emulating it at home. The maple scone is round, chunky, with a pleasant texture that is both crumbly and buttery. There was a thin layer of sugary glaze that complemented the scone really well. This treat was served with a salty, punchy miso butter and whipped cream. I thoroughly enjoyed the balance of sweet and savoury, and a scone that in itself was not too dry or crumbly. One of the best scones I've ever had the pleasure of eating.
Anyway, on to the recipe, this is a recipe that is meant to be easy for you guys to recreate at home. I did a poll on Instagram and the most votes went to 'Simple recipes you can easily recreate' so that is what I will be focusing on from here on out. This recipe literally only requires 2 bowls, a knife, a fork, your hands, and an oven. That's it!

As I'm sure everyone is well aware of, Singapore is having an intense rainy season so please excuse the lousy photos. I know, I'm disappointed too. :(
Hope the visual guide helps you guys though. Let's dive straight into the recipe now.
Easy Maple Scones Recipe
Serving size: 3 scones
Ingredients
Scone:
100g all purpose flour
4g baking powder (NOT the same as baking soda)
1g fine table salt
15g light brown sugar (you can use white sugar too if that's all you have)
50g unsalted butter, cold and cubed (if using salted butter, omit the addition of salt)
50g milk (whole or low-fat, anything works. You can even use buttermilk or cream for a richer scone)
Melted butter, for glazing
Maple glaze:
20g maple syrup
50g powdered sugar
Dash of milk (optional)
Instructions
1. Preheat oven to 190˚C. Prepare a small baking tray and line with parchment paper if desired (prevents the scones from sticking and makes for easier washing up).
2. Measure flour, baking powder, sugar and salt into a large bowl. Mix together with a fork until everything is well distributed.
3. Add your butter cubes into the flour mixture. Using your hands, rub the butter into the flour until it forms little pea-sized clumps like shown in picture 2. (If you don't know what rubbing butter into flour is, watch this video first.) Be sure not to over-mix to the point that it is overly sticky.

4. Pour in your milk and mix together with a fork until everything is just combined like shown below. The batter will be sticky and clumpy but that's alright. If it's dry you're doing something wrong!
5. Using your hands, grab chunks of dough and form it into a rough round shape. The chunkier the better.
6. Place onto your baking tray and space them about an inch apart from each other. In the photo below, they were a little too close together so just be sure to give the scones ample space to rise in the oven.

7. Bake for 17-20 minutes depending on the oven (Mine was done in 17 minutes).
8. Meanwhile, make the maple glaze. Whisk together maple syrup and powdered sugar until it is the consistency that you like. If it is too thick, add a little milk sparingly. If it is too thin, add a little more powdered sugar to thicken it up.
9. Let the scones cool, or not if you're impatient like me, then drizzle the glaze over. Serve with whipped cream and berries or nuts or any topping of choice. Now go make your family members very happy :)
Hope you guys get to try out this recipe some day when you're in the mood for some easy weekend home baking! Tag me in your photos so I can repost them too :)


Comments